Design and Fabrication
This encompasses the design process and the fabrication of the mechanical system inlcuding the electrical design and the modular jet mounting system
Synthetic Jet design
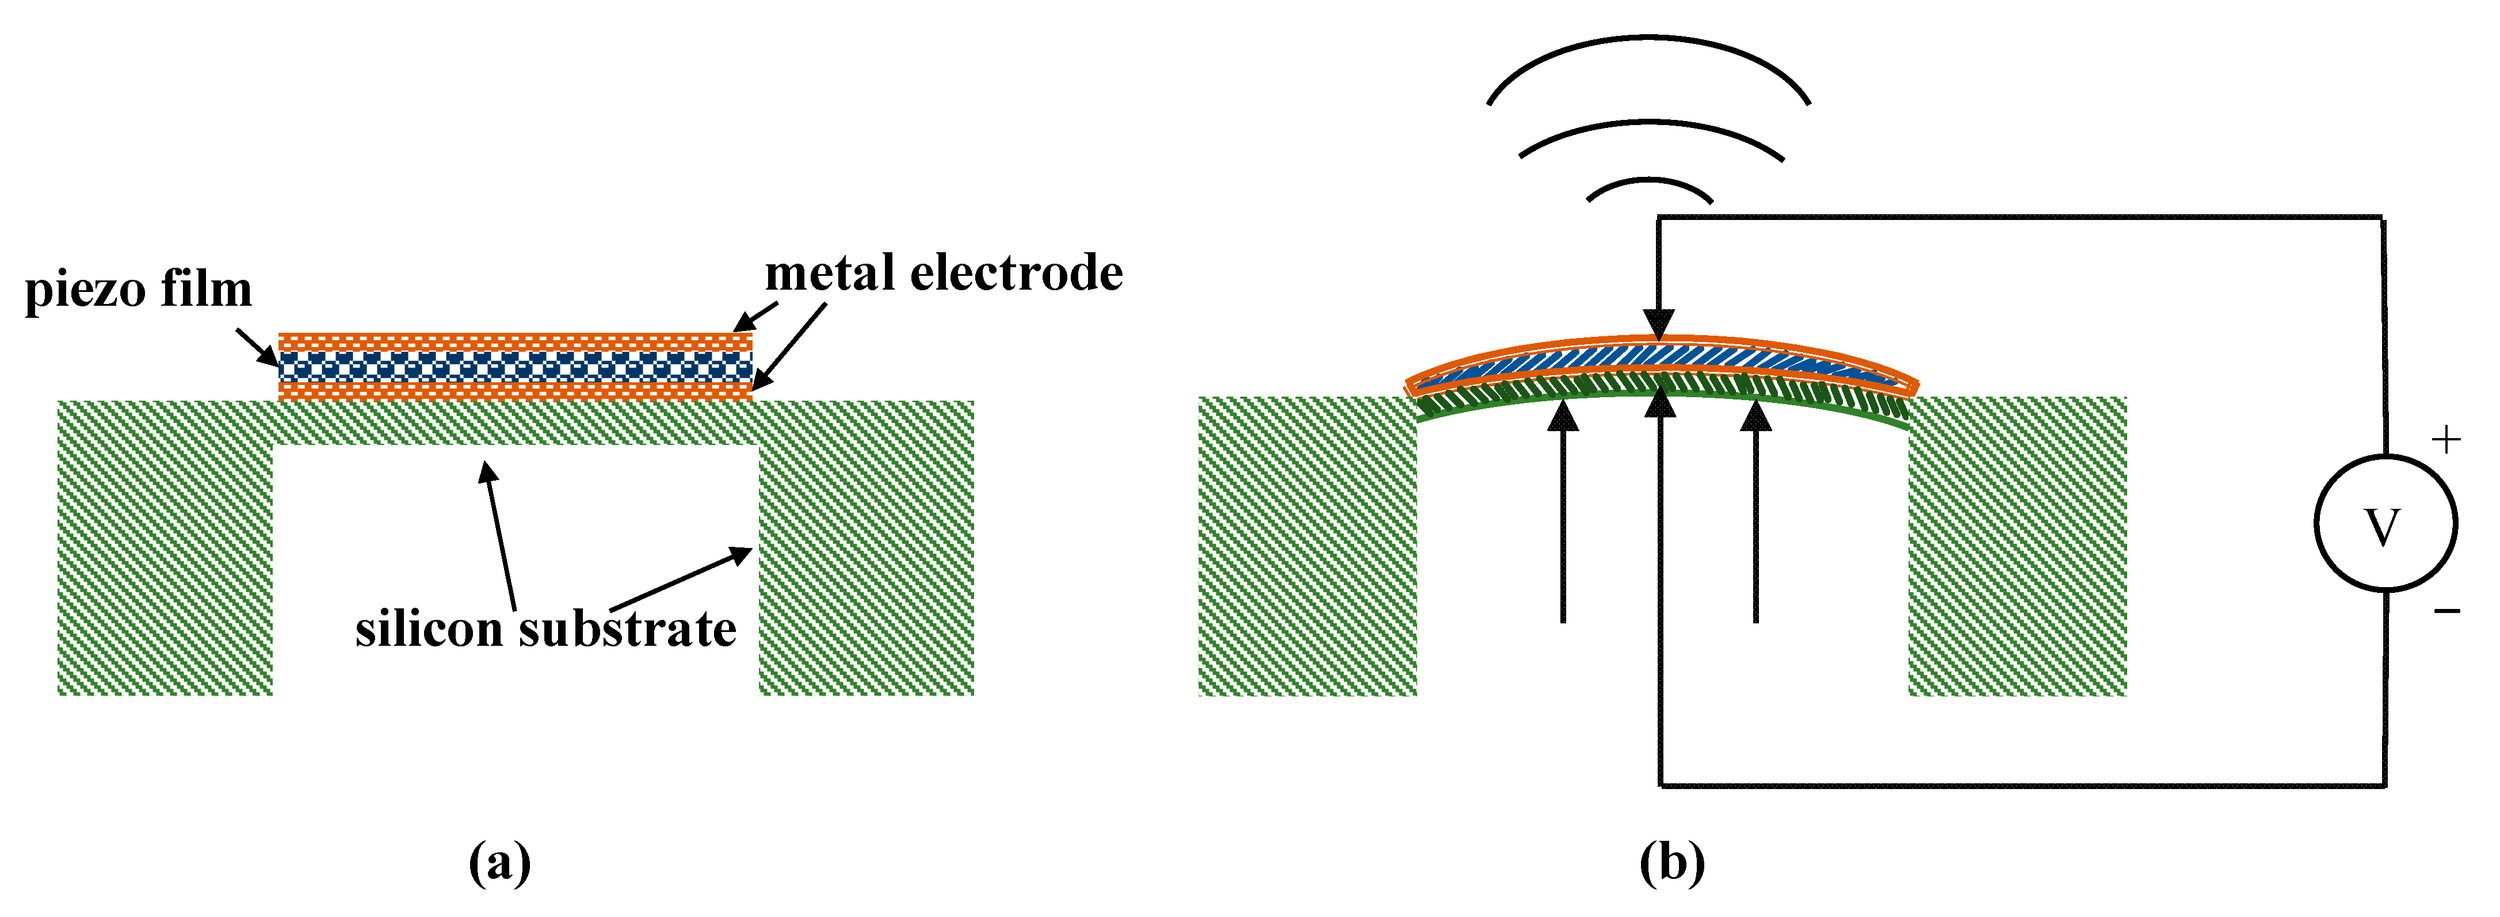
Our design required a piezo-electric disk to vibrate in a chamber with a small orifice, as discussed in the 'What is a Synthetic Jet' section. We turned to research papers and doctoral dissertations for guidance on our initial decisions
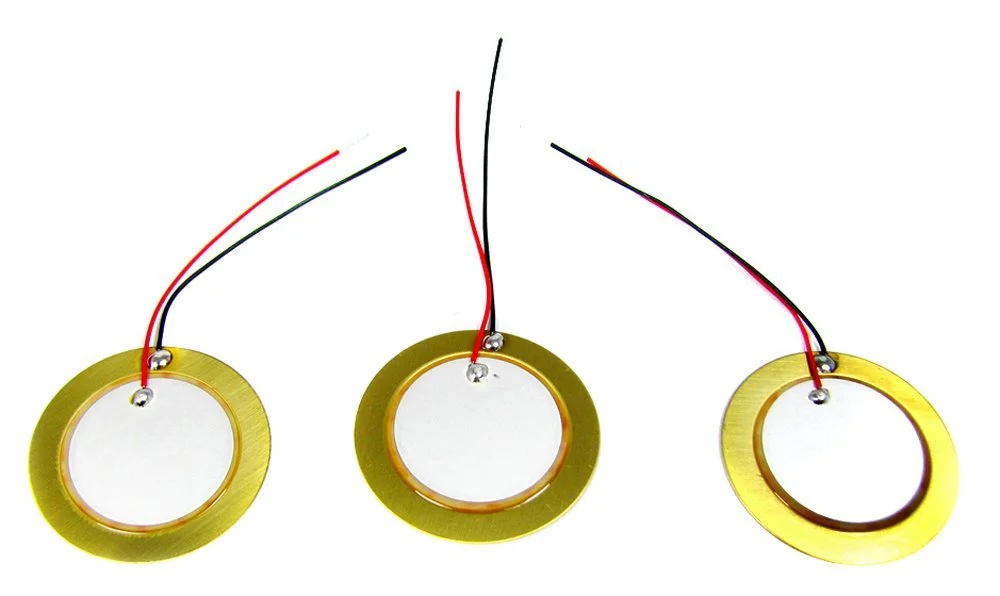
piezoelectric disks
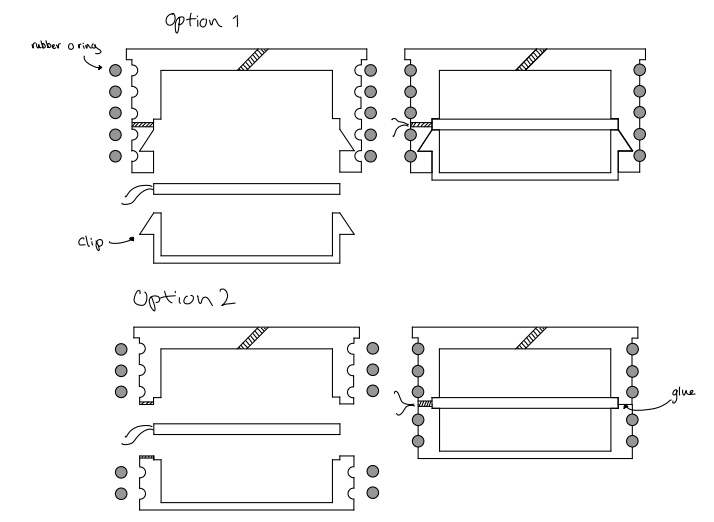
Two primary methods exist for securing the disk: using silicone gel as an adhesive or employing a clamping mechanism. The crucial aspect of these support structures is to avoid hindering the disk's vibration. Additionally, it's essential to seal the chamber entirely to prevent fluid loss, as any leakage could reduce the jet's efficiency.
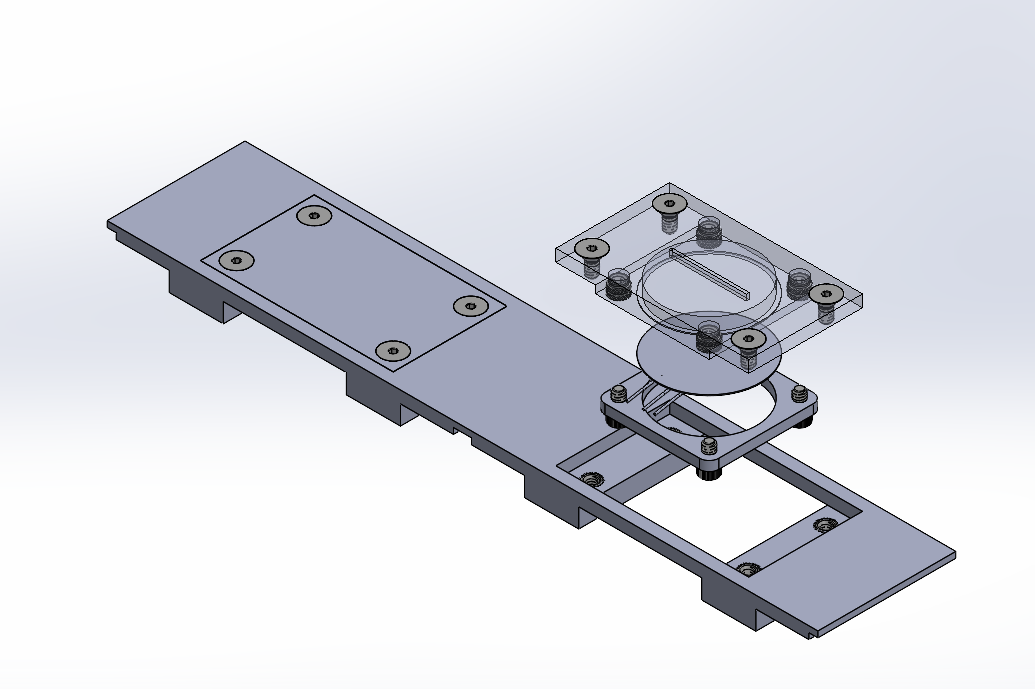
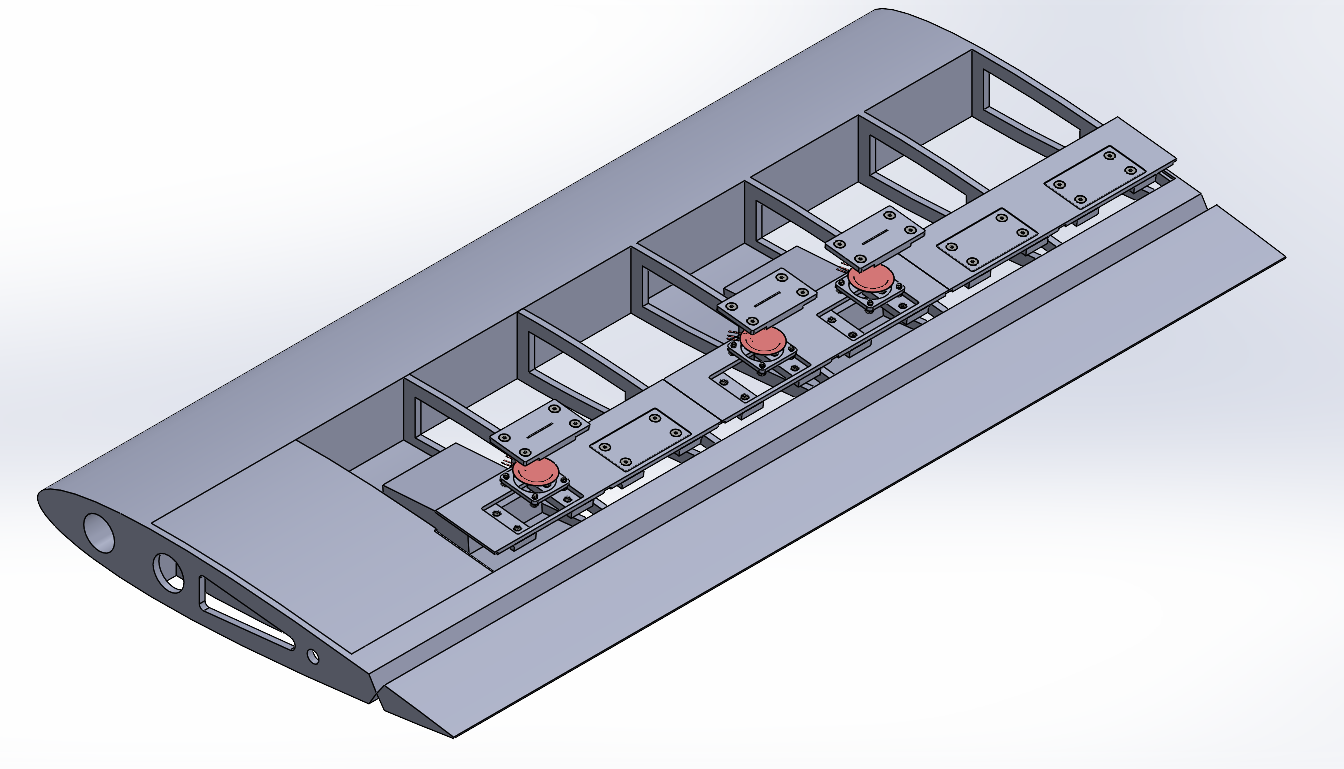
Our design featured a circular chamber with a rectangular orifice. The optimization of the orifice size, detailed in the 'Testing and Optimization' section, was a key focus. We prioritized modularity in our design to facilitate easy maintenance and enable versatile testing of different components during RC plane flights. To the right, you can view our jet mounting system.
As noted earlier, our disk mounting system incorporated both clamping and silicone glue for a secure chamber and firm disk placement. We employed 4-40 screws and heat set inserts in our clamping design, with the intention of allowing easy disk removal and frequent clamp adjustments in case of disk breakage or maintenance needs.
We sized the component holes slightly smaller than the inserts' outer diameter, then used a soldering iron to heat and embed the inserts into the 3D printed part. Precise hole sizing was crucial to prevent the plastic from bubbling over the insert or encroaching the threads during melting. Multiple tests were conducted to optimize these dimensions, accounting for the inherent accuracy and precision limitations of 3D printing compared to CAD model specifications.
Strucutral methods: Silicon glue or Clamping
The primary challenge with clamping the disk is the increased risk of leakage. Conversely, using silicone glue poses the difficulty of preventing it from contacting the central disk, which must remain free to vibrate. Therefore, we opted for a hybrid approach, combining both methods to mitigate the drawbacks of each.
Work in Progress: Sneak Peak Ahead
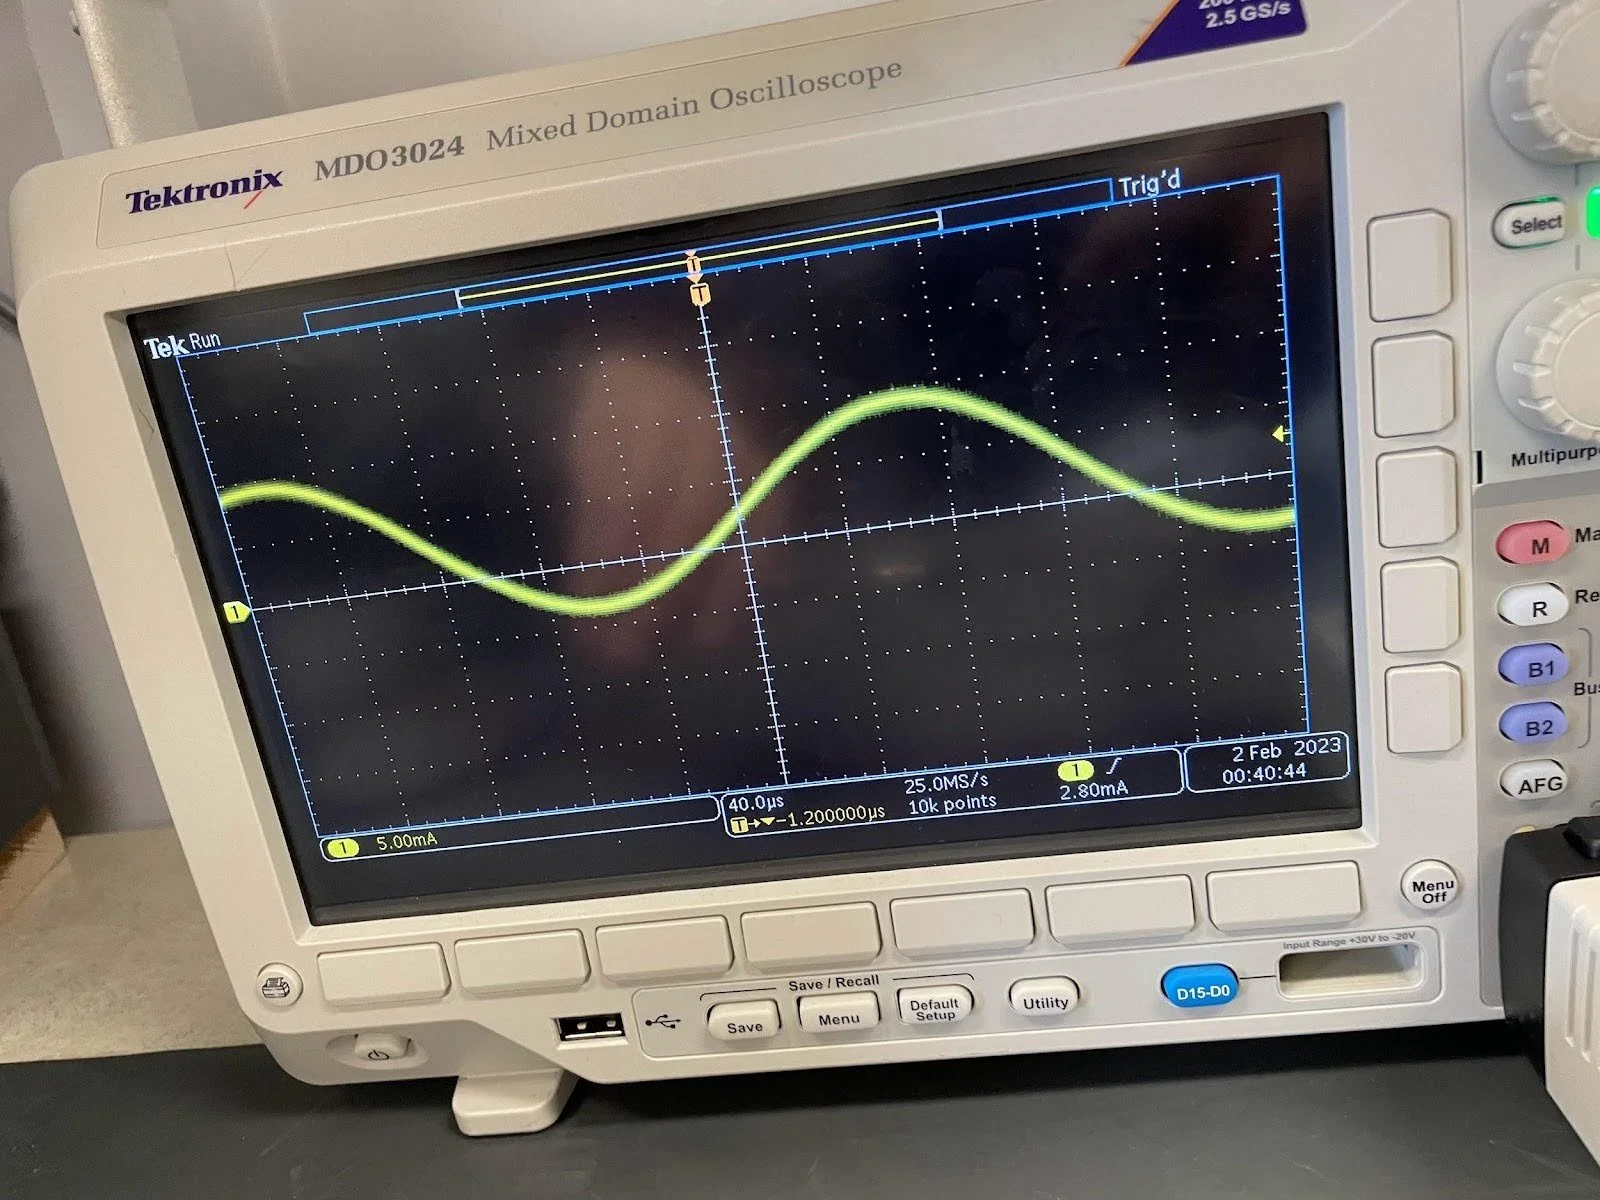
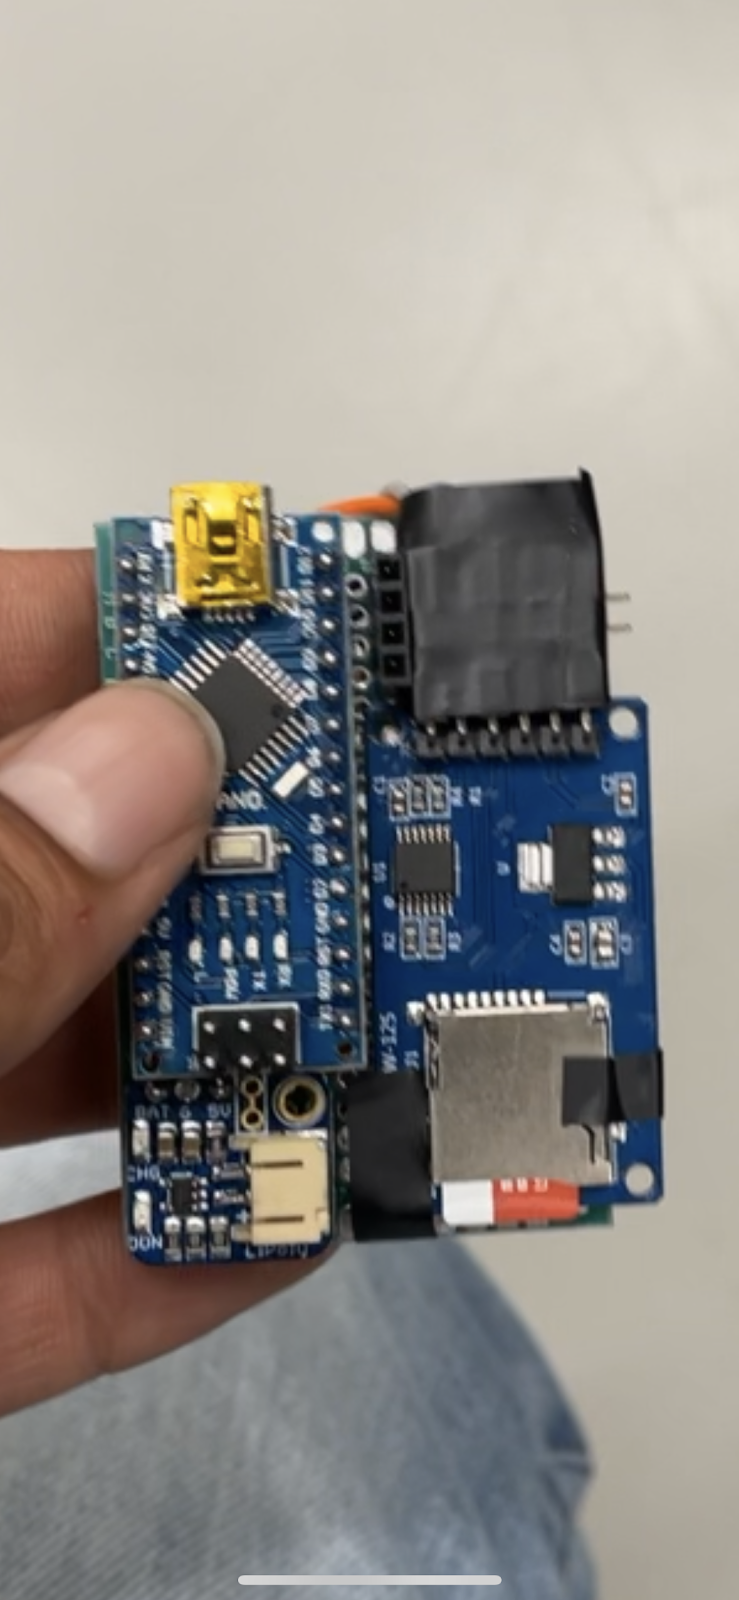
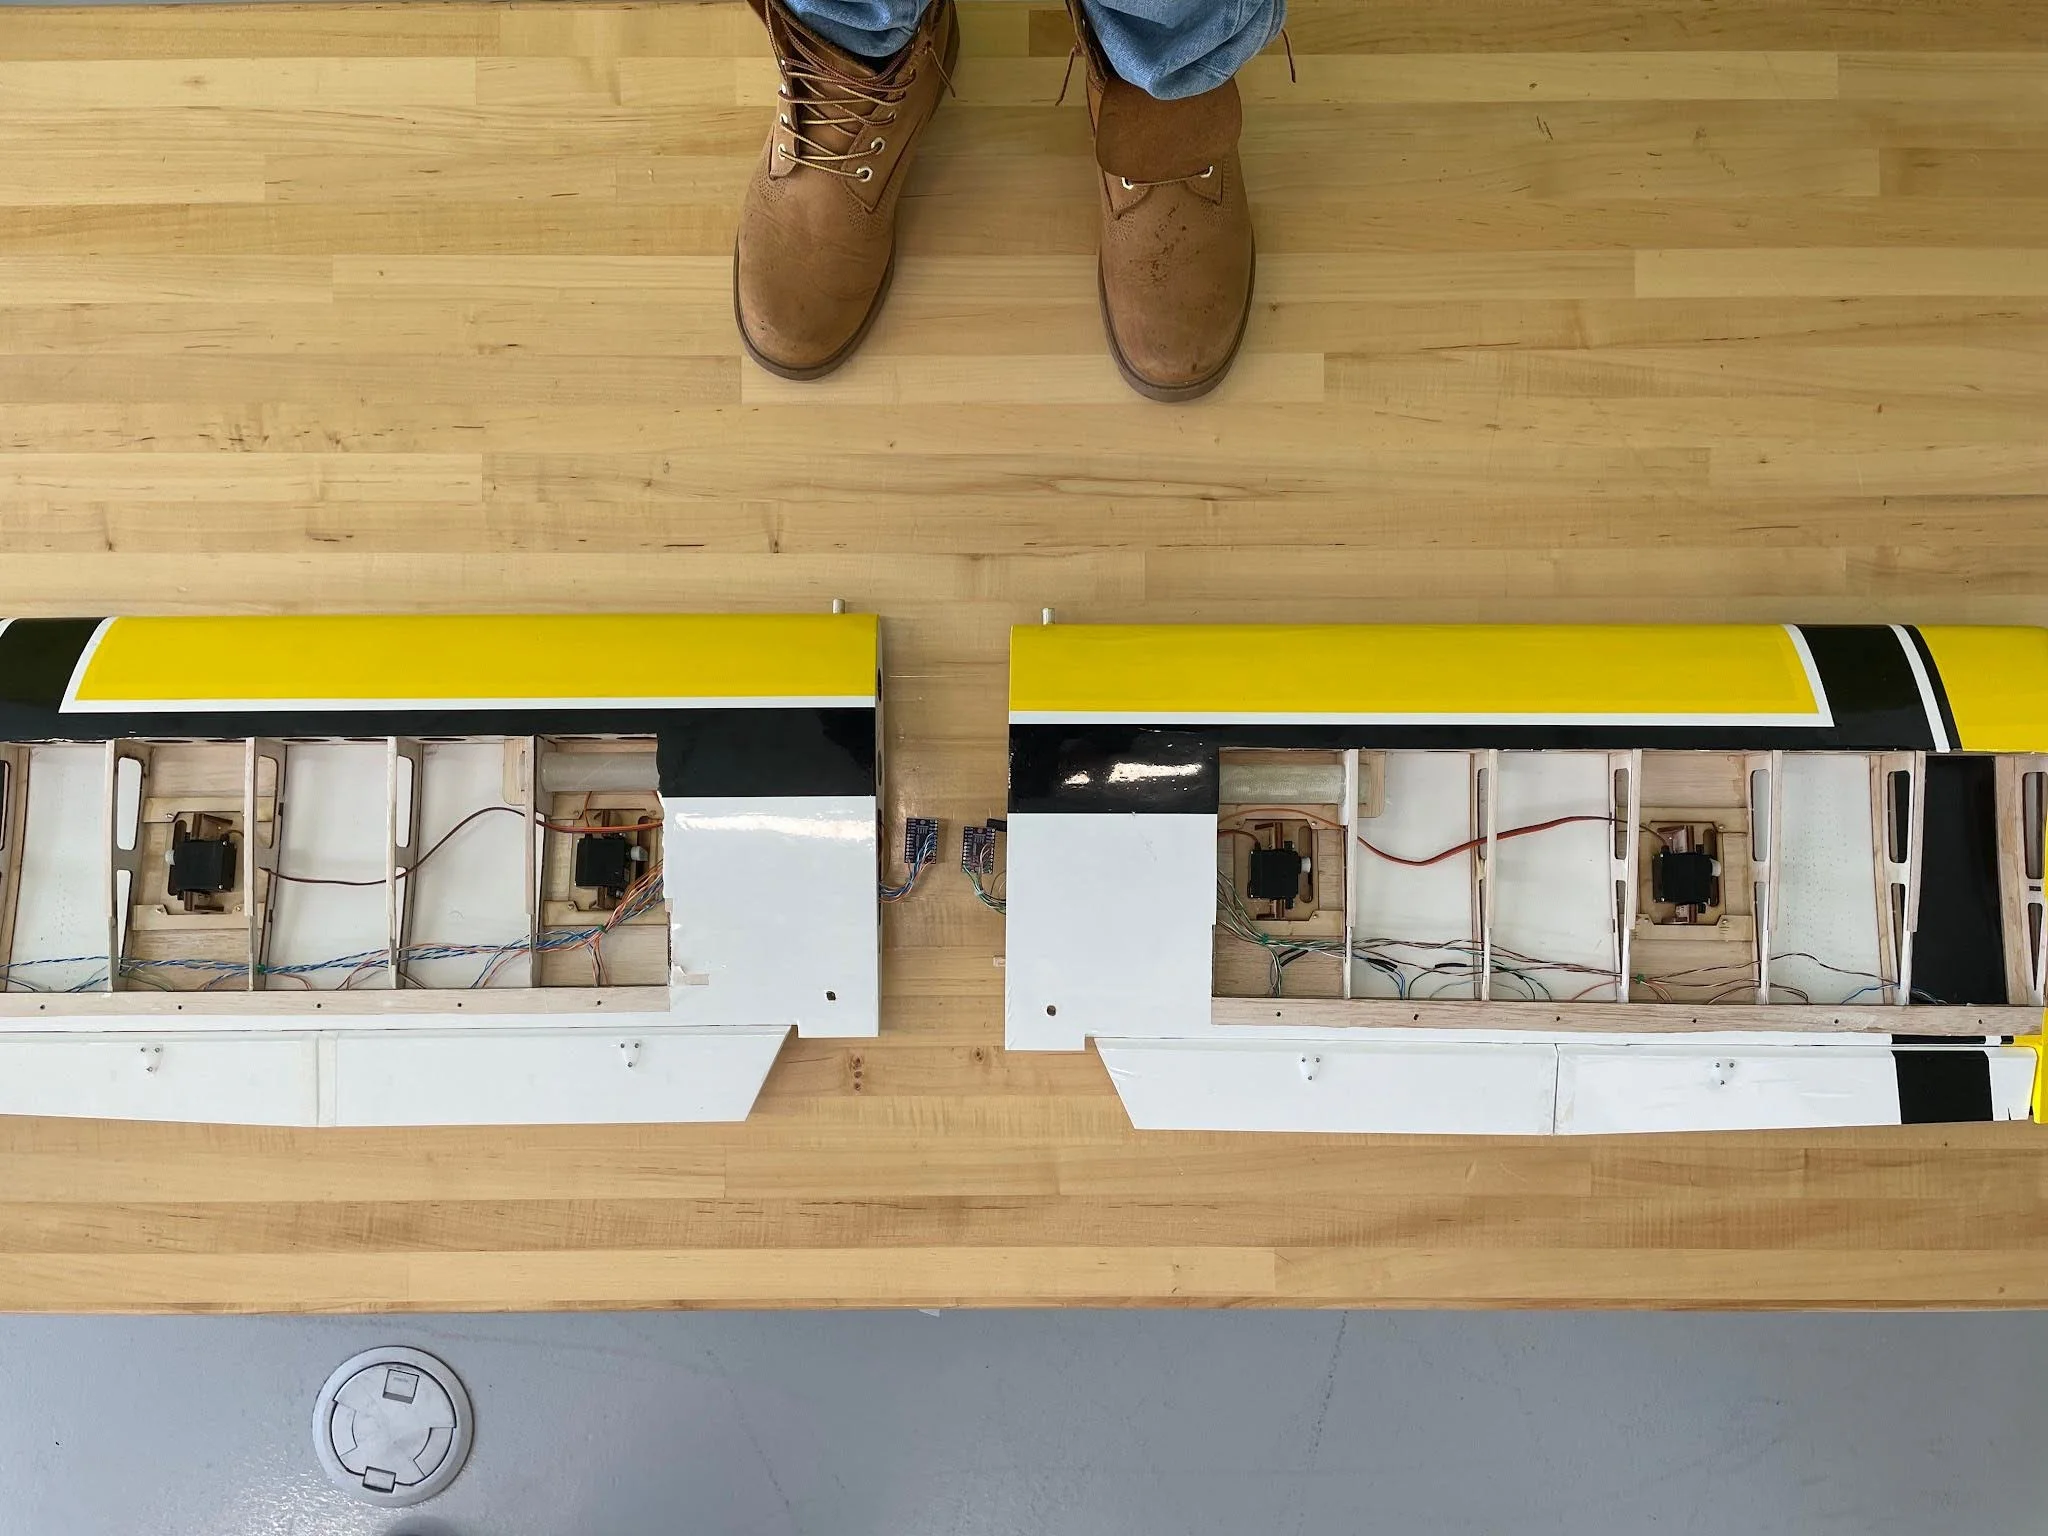
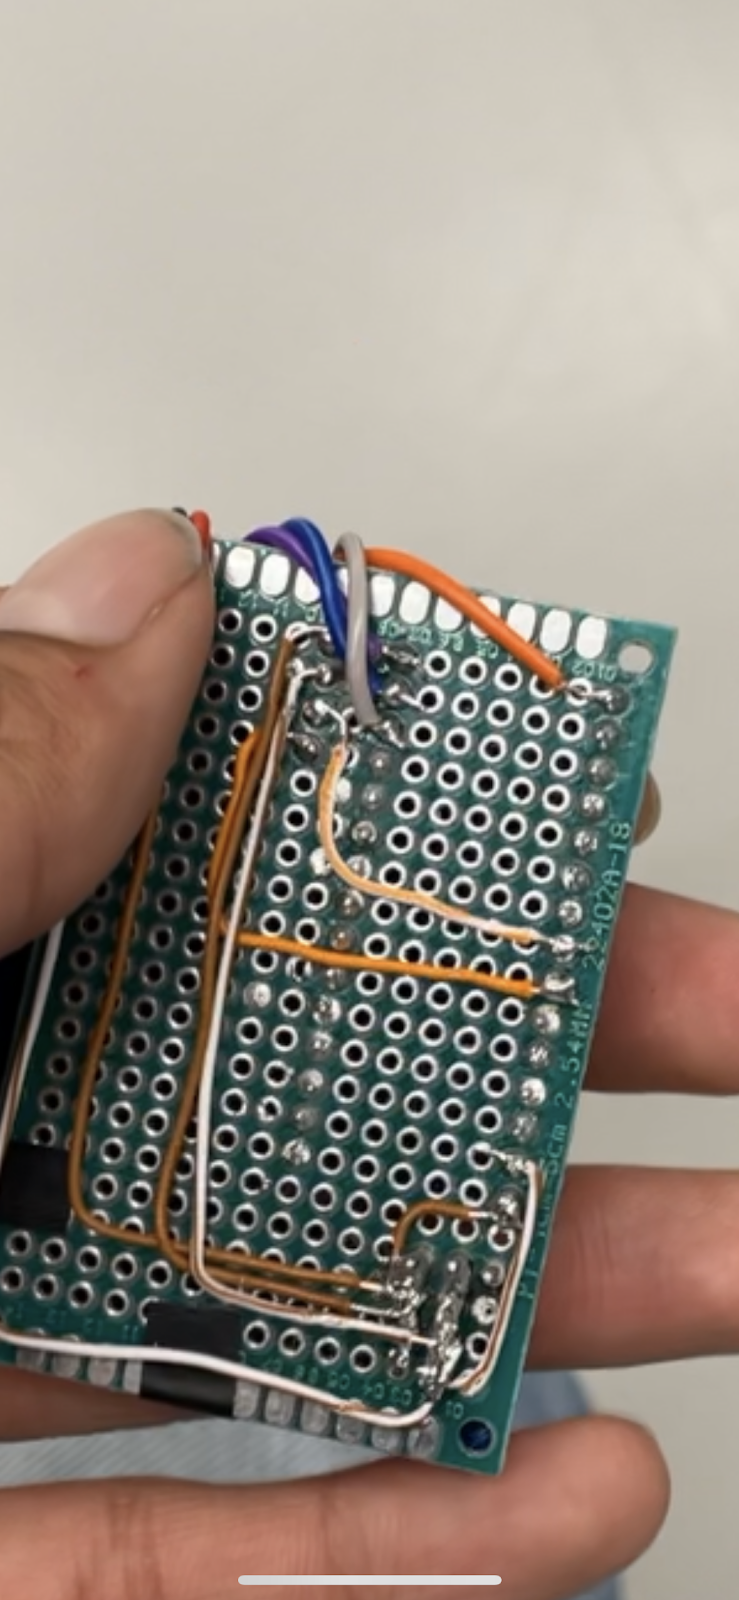
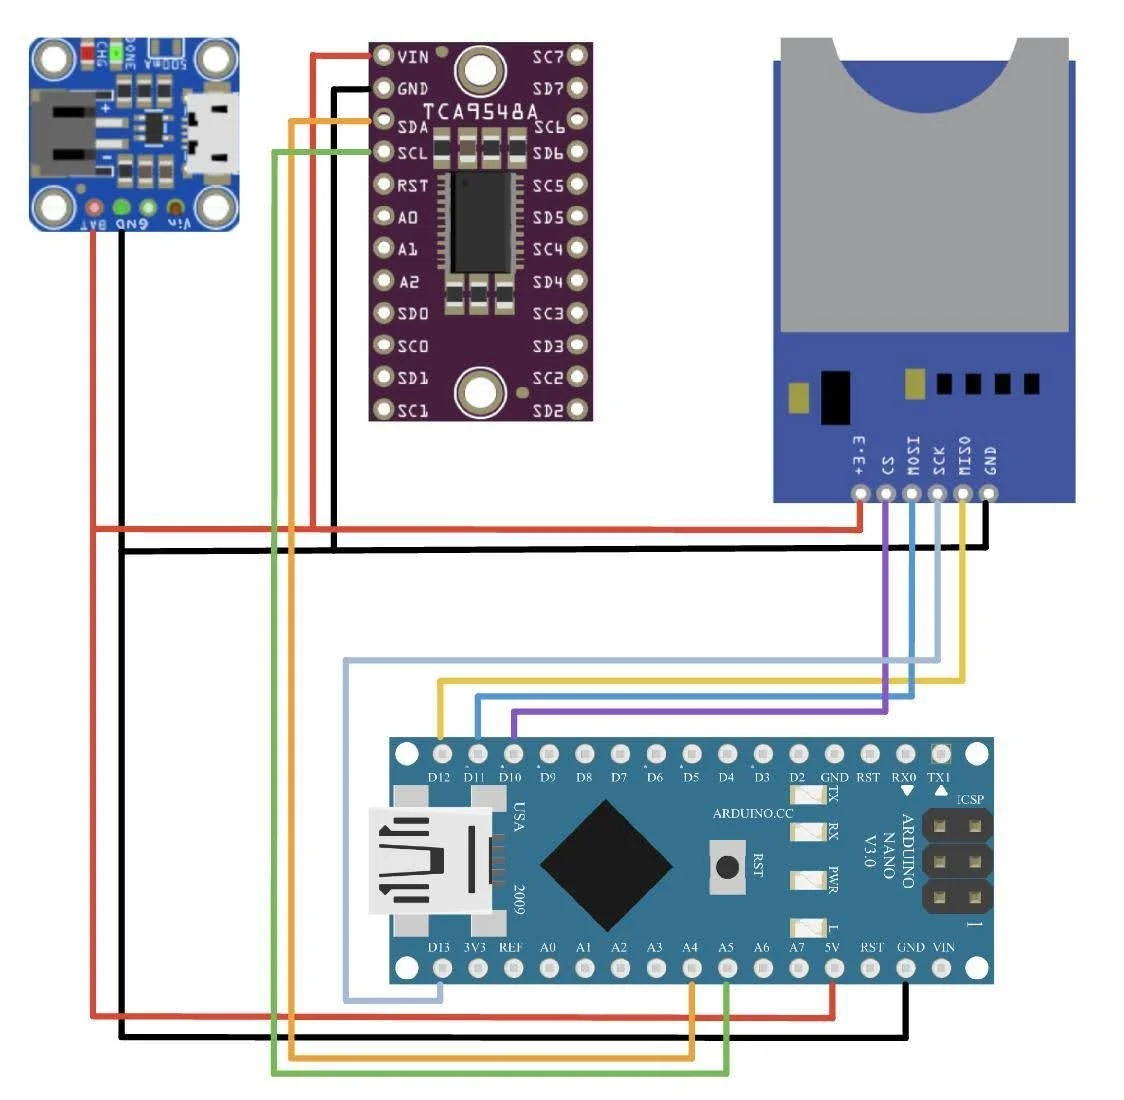
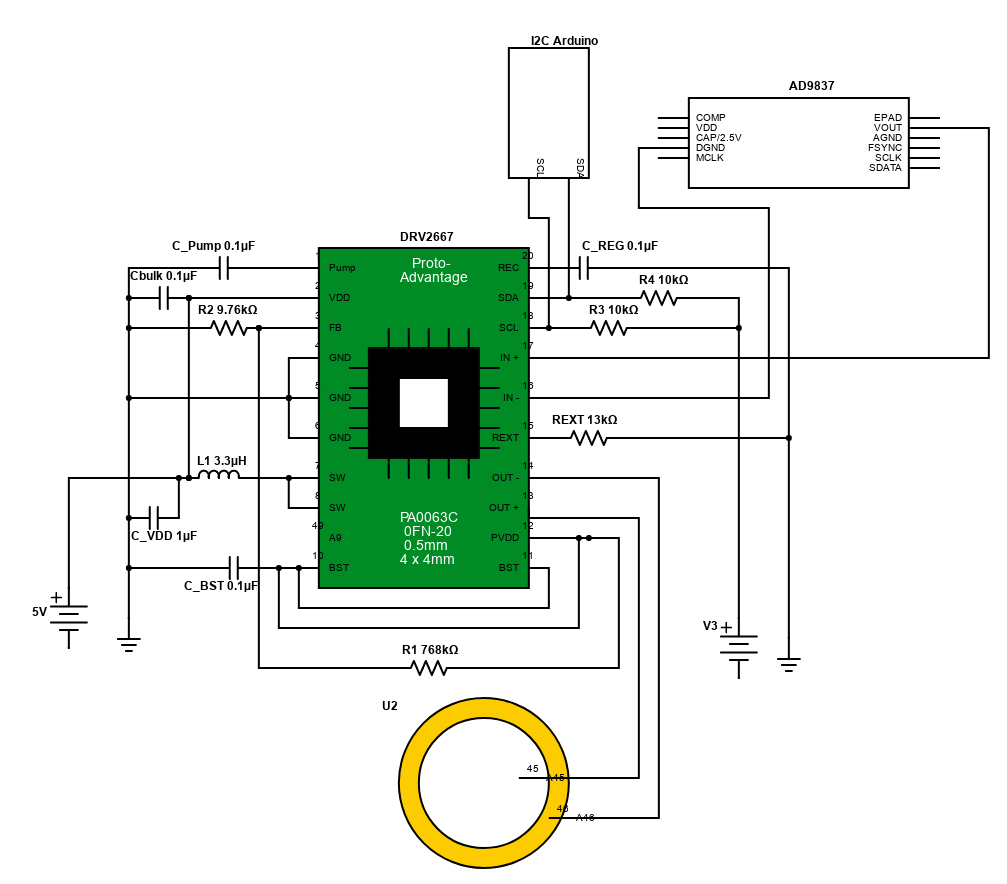
As I continue to develop this section, enjoy these preliminary pictures showcasing additional aspects of the mechanical and electrical design. Detailed descriptions and insights will be added soon to bring these images to life. Stay tuned!
Piezoelectric Disk Mounting System
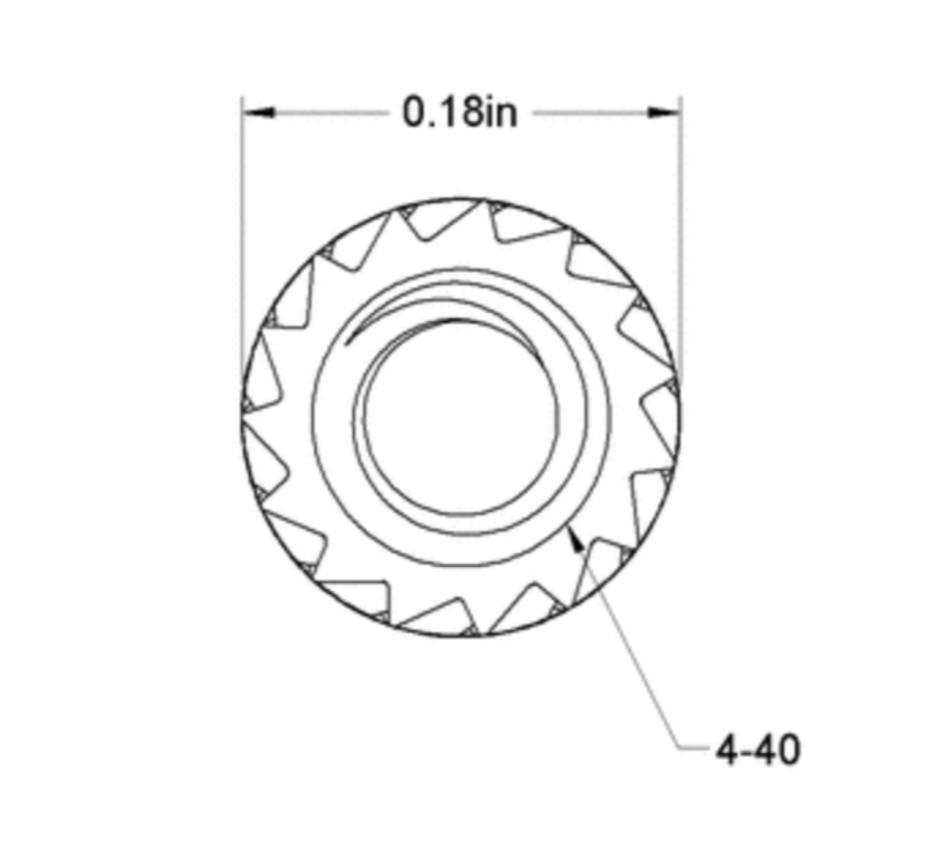
Given the complexity of our design, we opted to 3D print the synthetic jet, which meant we had to consider the limitations of the plastic material, especially its poor thread retention. To address this, we used heat set inserts, designed with ridges on their outer surface for enhanced grip in the plastic, as illustrated in the figures to the left and right. This ensured that even under tight screw fastening, the inserts would remain securely embedded in the plastic
We selected 4-40 screws for their small size and lightweight properties, essential for mounting on an RC plane to conserve battery power and maintain the center of gravity. The challenge with small screws is the limited torque they can handle without head stripping. Therefore, for the disk clamp, we opted for button head screws with a larger hex key size to ensure even force distribution, critical for the disk's vibration. Conversely, for the top surface mount, we chose flat head screws for a flush finish, where the smaller hex key size wouldn't affect the jet's performance.
